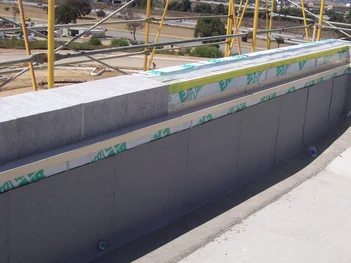
One of the most challenging joint connections on the building enclosure is the roof to wall. In fact, callbacks related to leaky roofs may not be a problem with the roof at all. Oftentimes the culprit is the connection between the roof and the wall.
How do air and water leaks occur?
Air will find any way it can to travel through a building, but two conditions are needed for air to leak. First, there must be a gap, crack or opening from one side of the envelope to the other. Second, there must be an air pressure differential which may be caused by wind, stack effect and the HVAC system. The taller the structure, the greater the impact.
Joints must be able to support the same air pressures as the air barrier material without displacement. If the air pressure is not controlled across the building envelope and within the building itself, air infiltration and exfiltration could overpower HVAC systems and result in occupant discomfort as a result of ineffective heating and cooling, increased operating costs from overworking the system, and poor indoor air quality. Wind accelerates at the sides and top edges of the wall. If the roof-to-wall connection is secure, it will be able to resist water penetration caused by air pressure differential outside and inside the building.
In addition, unlike the moisture transport mechanism of diffusion (the movement of water vapor through vapor-permeable materials), air pressure differentials can transport hundreds of times more water vapor through air leaks in the enclosure over the same period of time. This water vapor can condense within the enclosure in a concentrated manner, causing the potential for mold growth and premature deterioration of building components. Here are five important steps to help stop air movement by creating a continuous air barrier at the roof plane.
1. Choose a holistic, continuous system from a single manufacturer
The air barrier system should provide an unbroken line of defense at this critical connection and should include high-performance air barrier membrane, sealants and transition products that have been formulated and tested for adhesion and compatibility.
2. Consider the climate.
Varying climates make the roof-to-wall connection even more difficult. While there are industry guidelines for common roof systems and wall types, there are variances in the standard conditions, materials, and practices used within the seven different climate zones in the United States. Work with the manufacturer’s local technical representative for advice and best practices in your region.
3. Conduct mock-up testing.
Construct a roof-to-wall assembly mock-up and test it in accordance with ASTM E2357 and ASTM E331 to evaluate for resistance to air leakage and wind-driven rain. E2357 simulates real world conditions by creating various uniform levels of sustained wind loads, cyclic wind loads and gust wind loads up to 1200 Pa (100 mph; 25.06 psf) at both positive and negative air pressure differentials across the entire wall assembly. E331 goes farther, testing for resistance to water penetration with water applied at a rate of 5.0 U.S. gal/ft²-h using a calibrated spray apparatus while simultaneously applying uniform static pressure to opposite sides of the assembly. The results of these tests will validate air barrier system performance and help identify any potential issues that need to be addressed in advance.
4. Eliminate guesswork from the installation process.
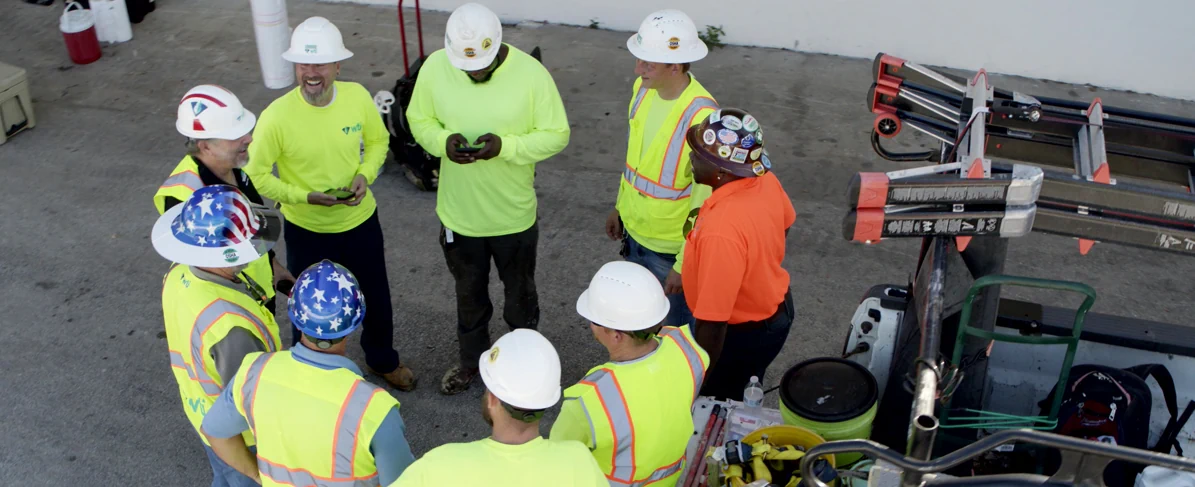
Building and testing the mock-up has the added benefit of helping you validate your planned sequence of installation. Document these steps to simplify the process for your installers and prevent confusion on the jobsite. Be clear in specifications and project documents about who is responsible for making the connection between the roof air barrier and the wall air barrier, parapets, and junctions at low level soffits as well as all connections between assemblies.
5. Include the manufacturer in your project team.
Involve the air barrier system manufacturer’s technical representatives at the design and pre-construction phases to make sure the right products and solutions are selected for the roof-to-wall connection. And since product performance is impacted by the quality of the installation, choose a supplier who will provide training, as well as guidance on the job-site as needed throughout the installation.